This brown ink is easy to make and can be used with a dip pen or brush. There are lots of recipes on the internet, all with different additions to stop the ink going mouldy and flow more easily, but before I get to that, here’s the basic process.
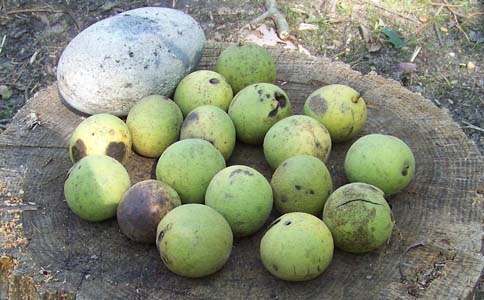
1. Collect walnuts.
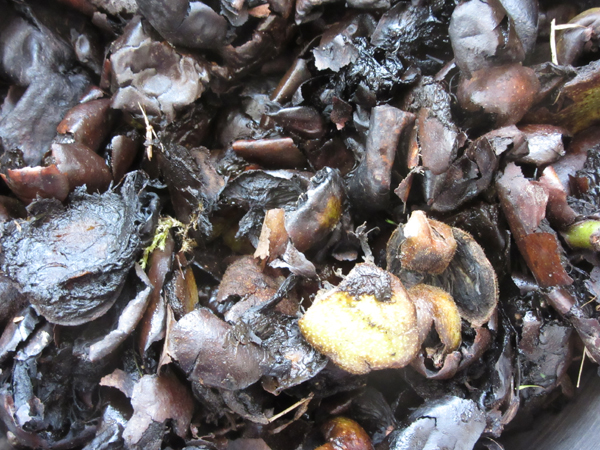
The part of the walnut you need is the husk, not the nut. When the walnuts fall they are green. Ours had been lying about for a while on wet grass and had gone brown. Beware – they stain everything! Separate the husks from the nuts and put them in a pan with water. Use a pan that won’t stain, or one that you don’t care about.
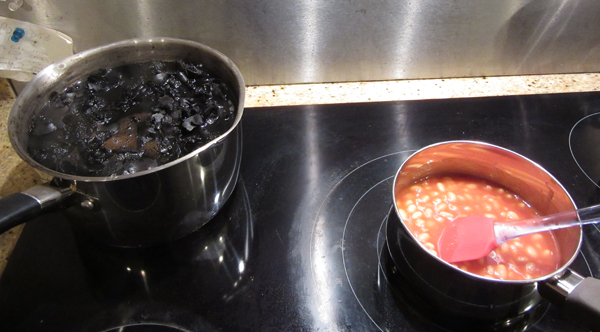
2. Simmer
Every recipe gives you a different time frame for this. Some say to cook them for hours, some days. I’m often out teaching, so I simmered the walnuts when I happened to be in the kitchen for a few hours. They do smell a bit – a kind of earthy, woody, wet dog kind of smell. Continue simmering until the ink reduces and thickens.
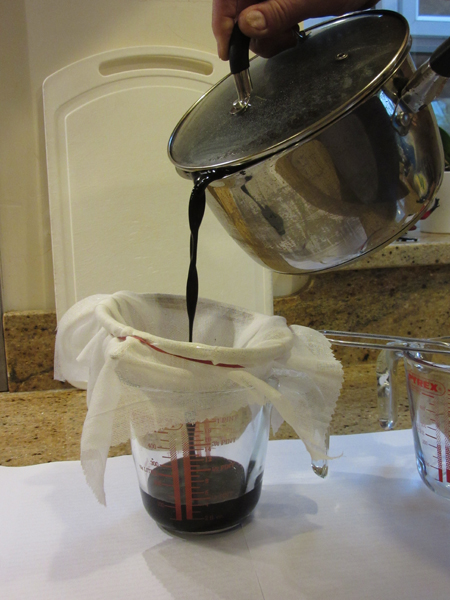
3. Strain
Let the ink cool and filter it. I passed mine through a double layer of muslin.
4. Preserving the Ink
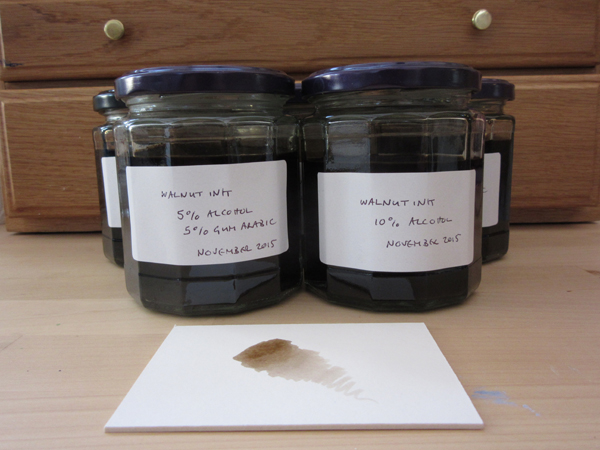
My ink hung around in its pan for several weeks before I got around to finding jars for it. It did start to go mouldy so adding some kind of preservative seems sensible! Most people seem to add alcohol, either 5 or 10% by volume. There doesn’t seem to be any consensus about which is best. Others add gum Arabic to improve the flow of the ink and bind the pigment. Some add iron or an iron / vinegar mix to darken it. I didn’t want to darken my ink but I thought I’d try and find out which of the other options worked best.
So, I have several small jars of ink, with additives as follows:
- None
- 5% alcohol
- 10% alcohol
- 5% alcohol and 5% gum Arabic
- 20% gum Arabic.
It will be interesting to see how they perform over the next few months – I’ll let you know!
Photo of green walnuts from Practical Primitive.
Hi,
İ want to know how did they perform that you used as preservative? Arabic Gum? Alcohol? Both of them?
Thanks for asking!
It’s been a year since I made the walnut ink. The control is the most mouldy (ie the one that hasn’t got anything added). That’s what I expected to happen. Both inks wth gum Arabic in have also grown mould. The two that have remained clear are the ones with 5% alcohol and 10% alcohol, so that does work as a preservative.